Picture
I decided to try to make some English Muffins.  See, I like to try to make things at home that you would normally buy at the store.  I've been wanting to make English Muffins for a while but I'd been putting it off because I thought there was no way I would be happy with the results.  English Muffins have such a distinctive flavor and texture that I assumed was directly related to being mass produced in a factory.  I thought I'd end up with a strange biscuit that was completely different than what I was looking for.

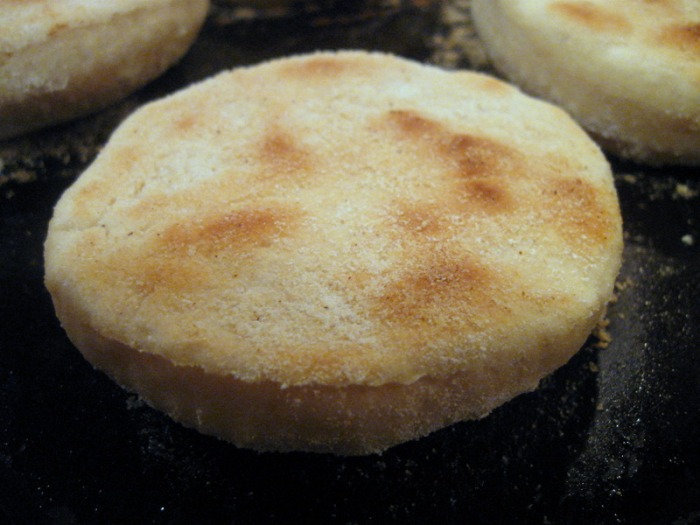
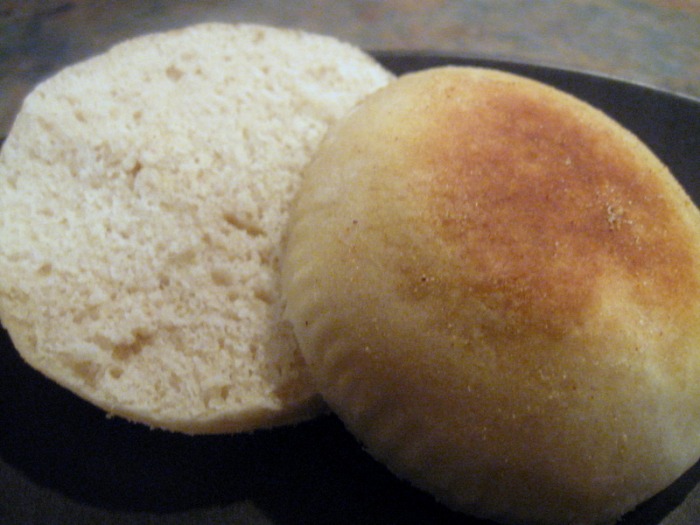
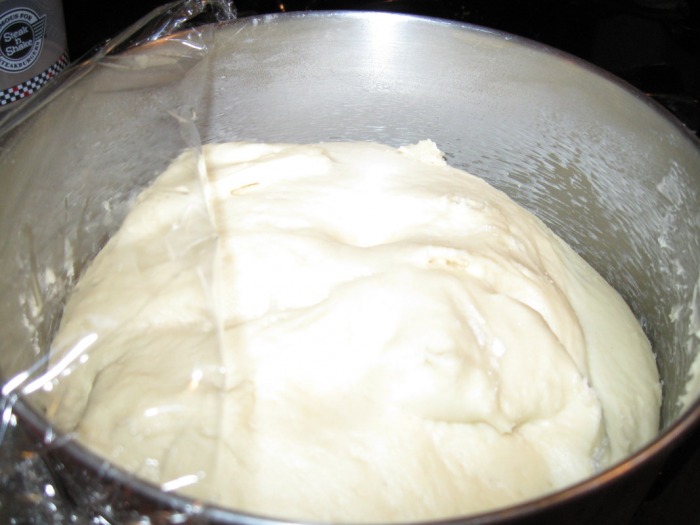
Yesterday I finally decided to give them a try and at least then I'd be able to take them off my to do list.  It's a very simple yeast raised dough, but it also has baking soda and folded in egg whites... that's a lot of leavening!  No wonder there are so many nooks and crannies when you cut one open!

So, now that I've finally made them what's my verdict?  I'm kicking myself that I didn't make them sooner.  And I'm also kicking myself that I didn't have the confidence to know they would be good and experiment a little.  I played it safe and just made a plain English Muffin.  Plain like you can buy at any store at any time... boring!  Like I said, I was assuming I wouldn't like them and I didn't want to waste any more ingredients than I already was.  Now I know better!  Next time I'm going to infuse some rosemary in the water and serve them filled with chicken salad... or I'm going to put chives in them and serve them with a scrambled egg sandwich... or I'll put mini chocolate chips in them and serve them toasted with peanut butter... or... well, you get the idea!

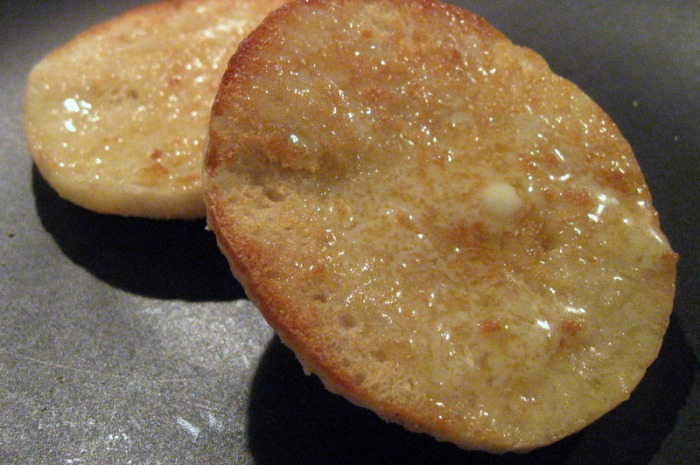
They were so good that when The Chef came home and tried one he said, and I quote, "I'm really impressed with these, and I'm not easily impressed."  Well, that was a back-handed compliment if I ever heard one, but I understood the sentiment!  They were surprisingly good and made the house smell delicious, but when you toast them the nutty smell of the toasted cornmeal just makes your mouth water!

-The Baker

ENGLISH MUFFINS:
    yield: 16 - 3" muffins

  • 1 1/4 C Water, 110 F
  • 4 C AP Flour
  • 2 1/2 t Yeast
  • 1/2 t Baking Soda
  • 1 1/2 t Salt
  • 2 Egg whites
  • Cornmeal, as needed
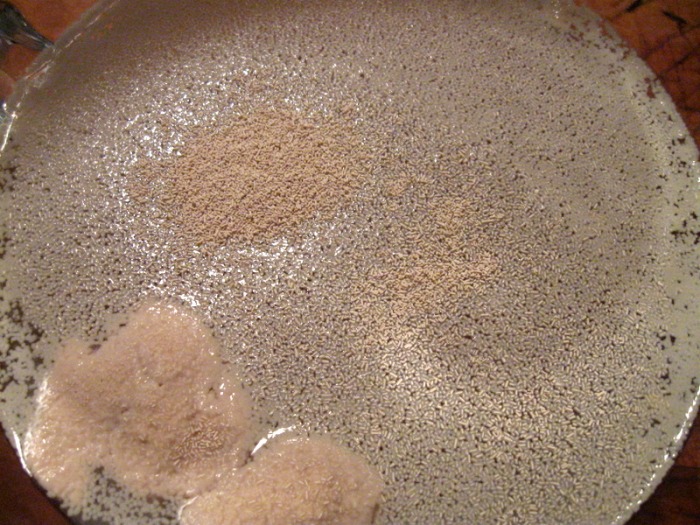
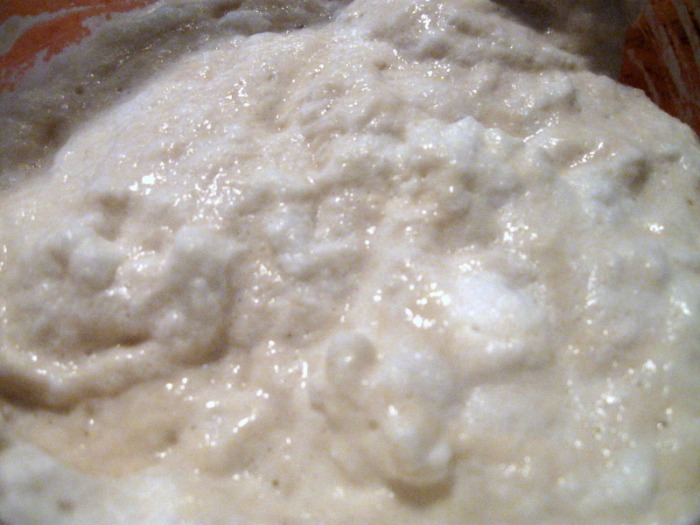
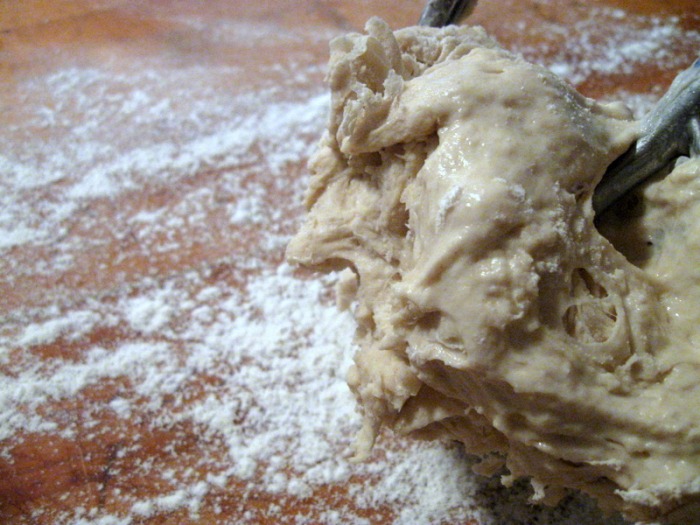
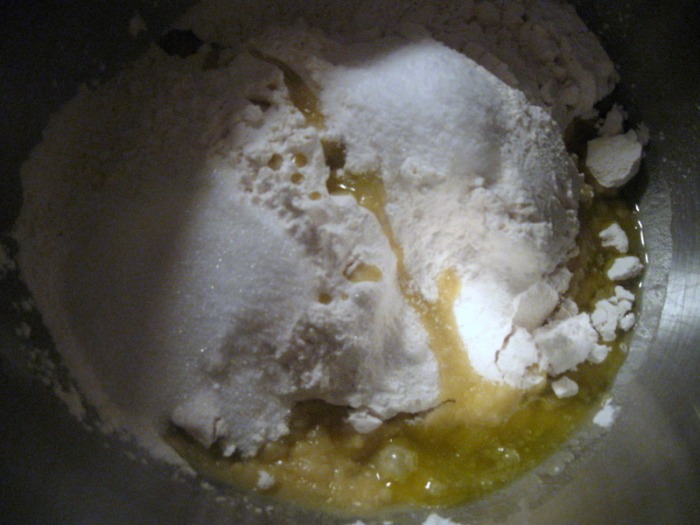
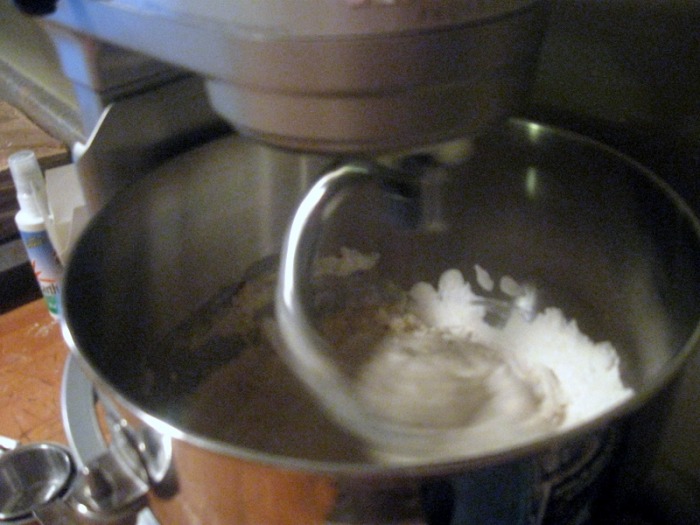
  1. pour water in a large bowl; add yeast, baking soda and 2 cups of bread flour; mix until smooth; allow to sit for 5 minutes uncovered
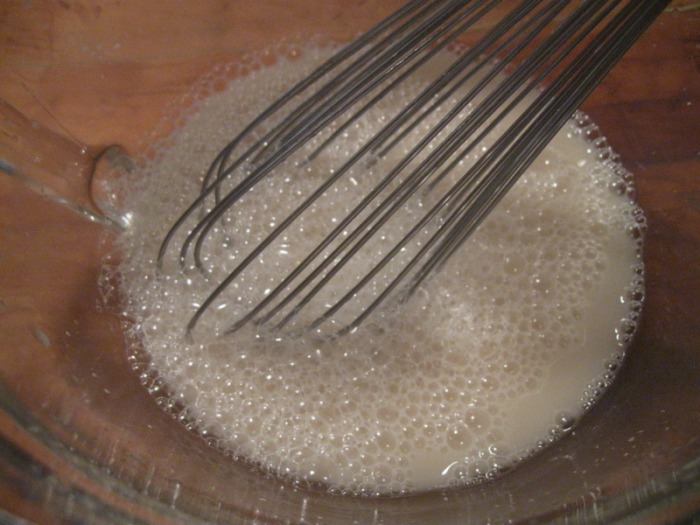
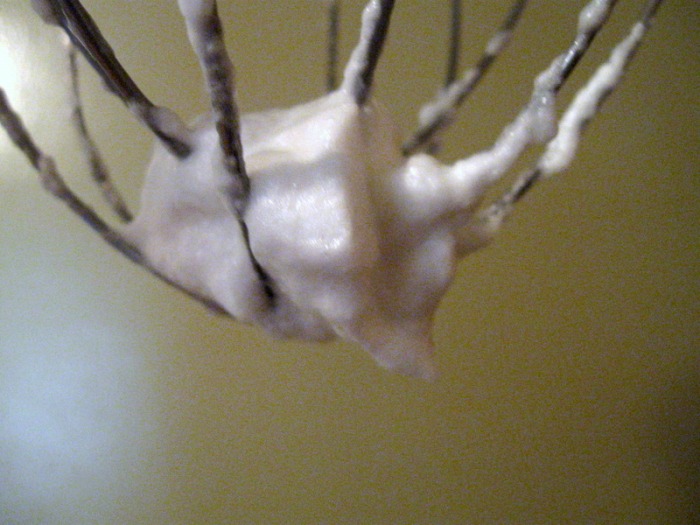
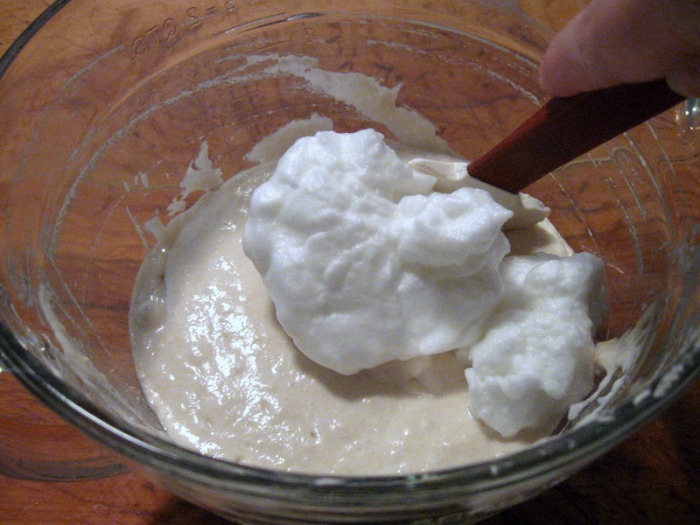
  2. while the yeast is proofing, whip egg whites until they become stiff and moist; when the egg whites have formed stiff peaks fold into dough batter using a rubber spatula until incorporated
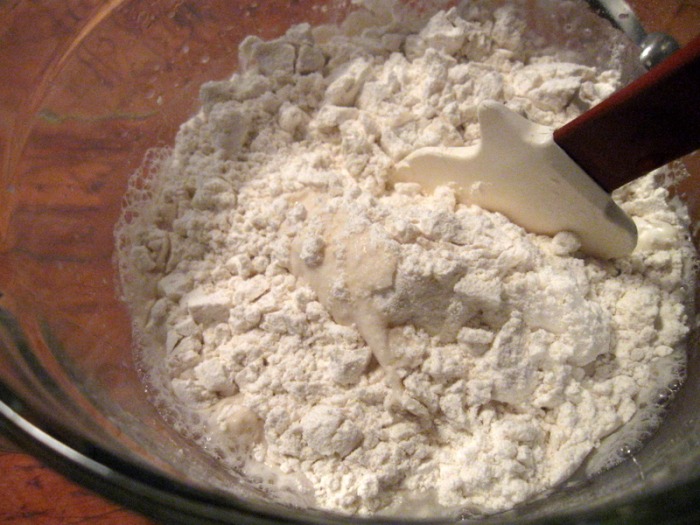
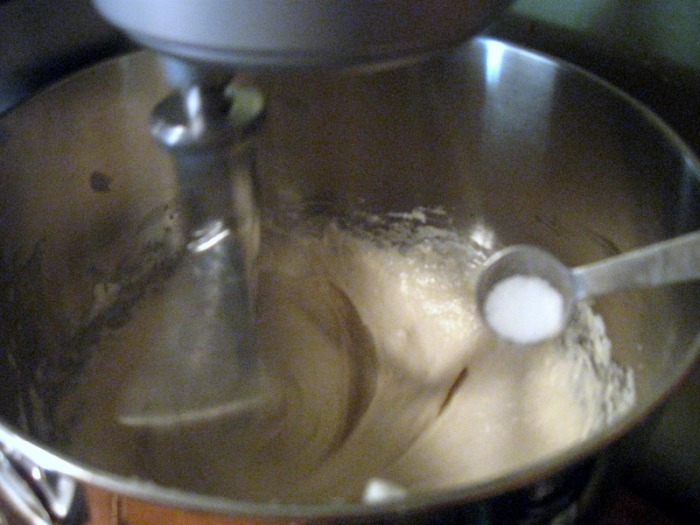
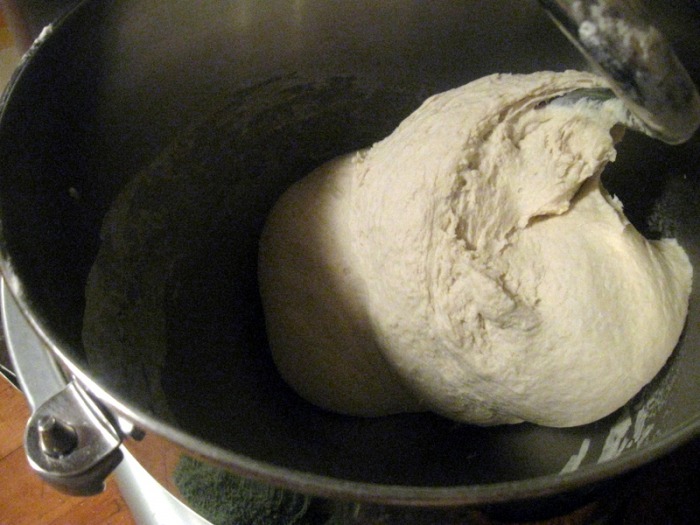
  3. return to the mixer and add in the rest of the flour, a 1/4 cup at a time; after the first 1/4 cup mix in salt
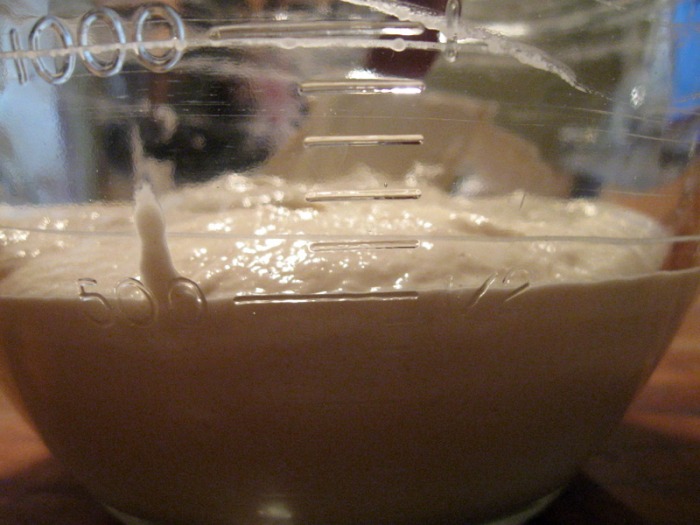
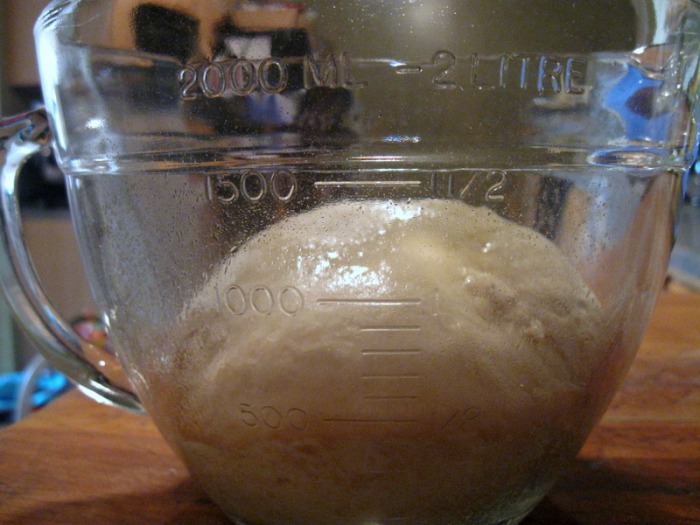
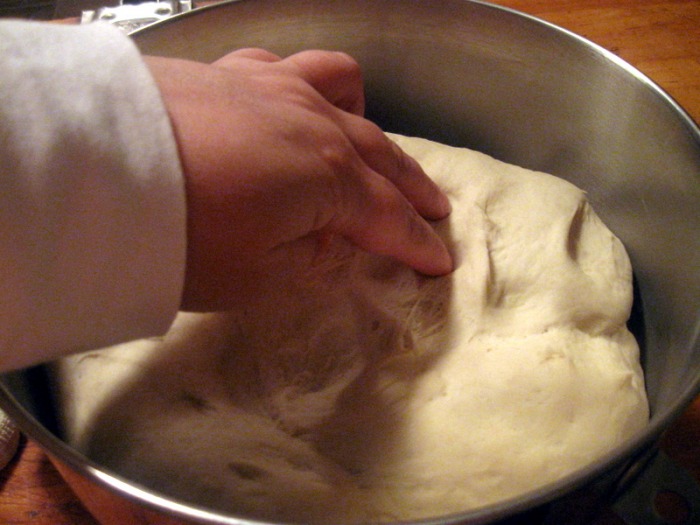
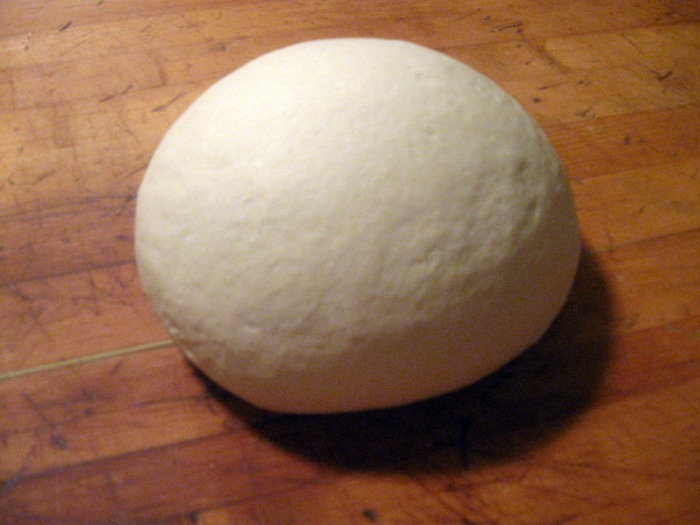
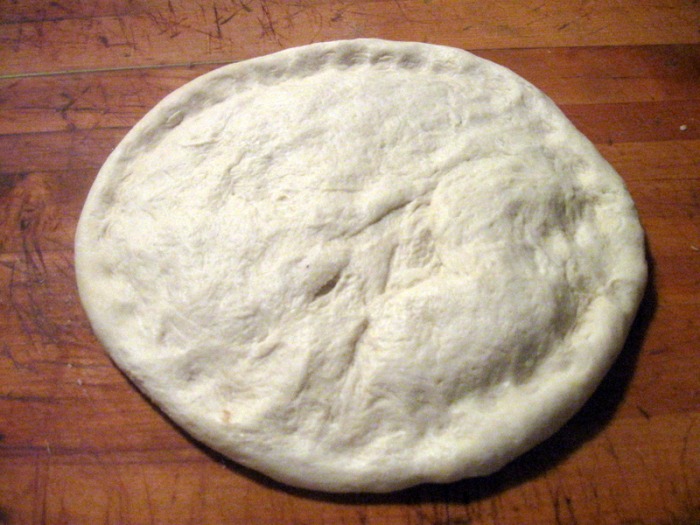
  4. mix until dough becomes smooth; oil a bowl and place the dough into the bowl, turn dough over till all sides are very lightly coated; cover with plastic wrap and allow to rest till double in bulk, about 1 hour
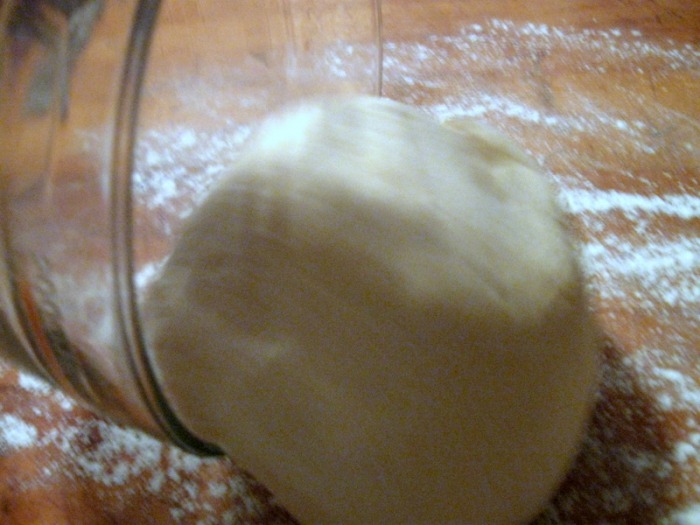
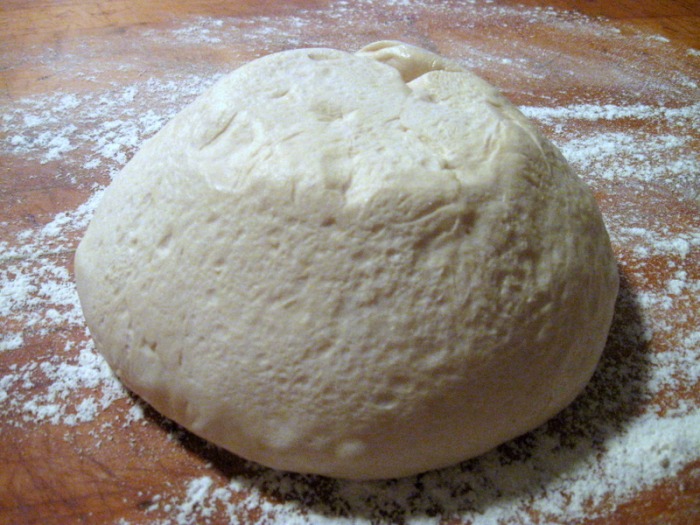
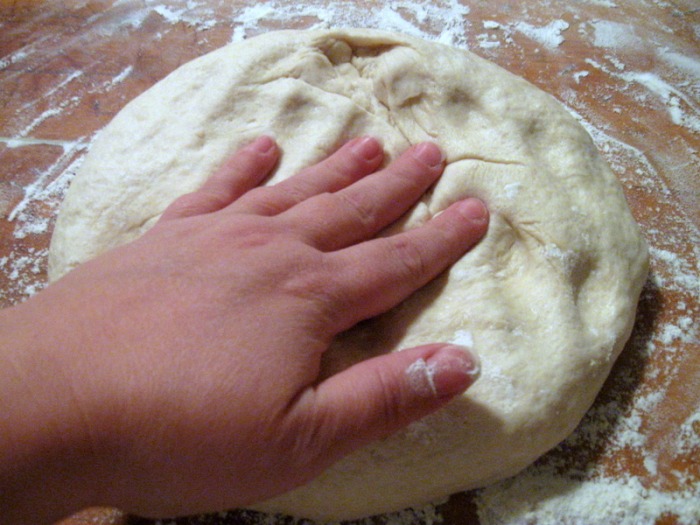
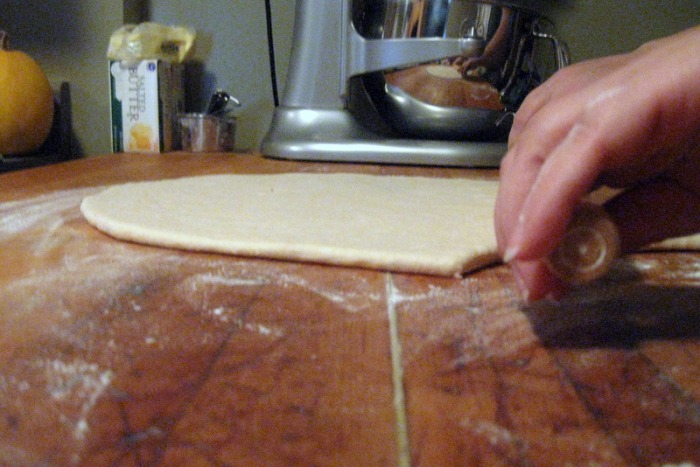
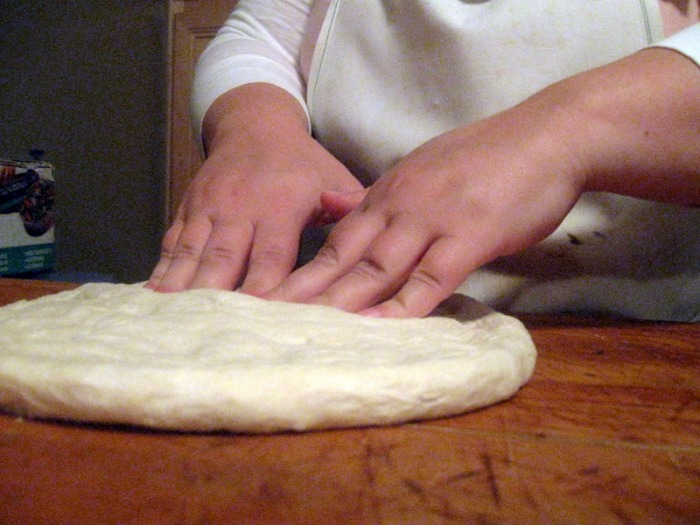
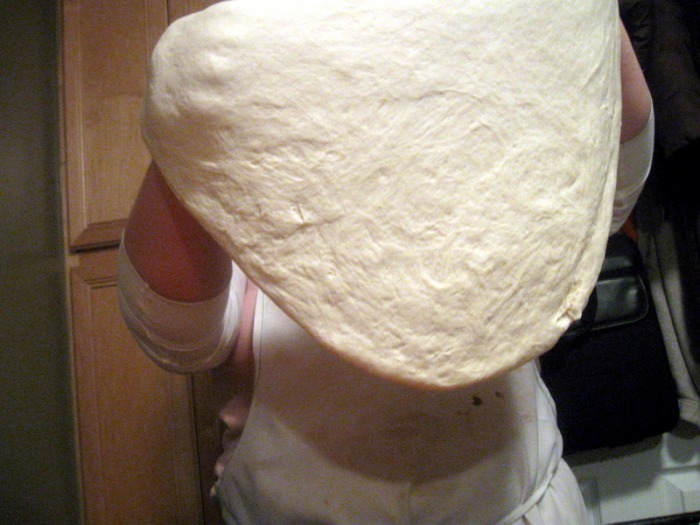
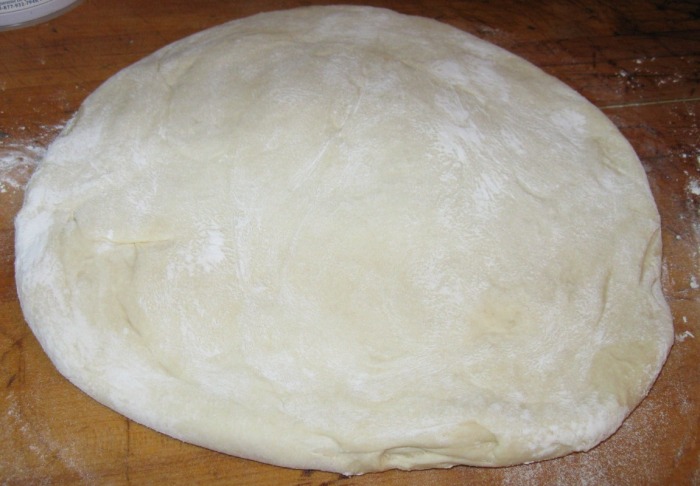
  5. afterwards, pour out onto a flour dusted flat surface; gently press to release some of the air from the dough
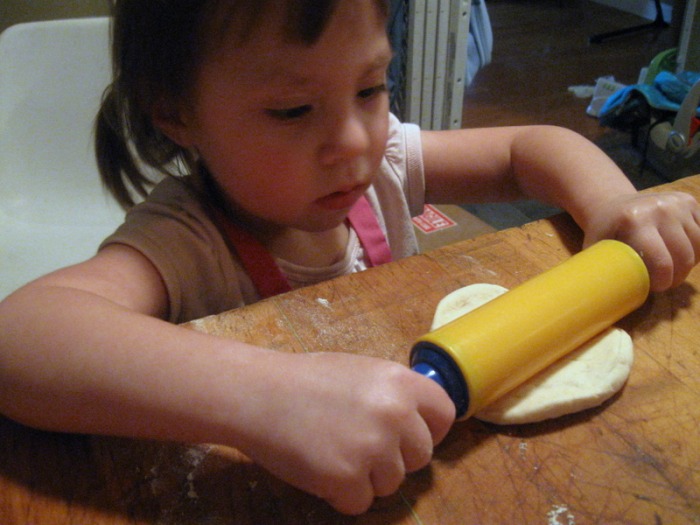
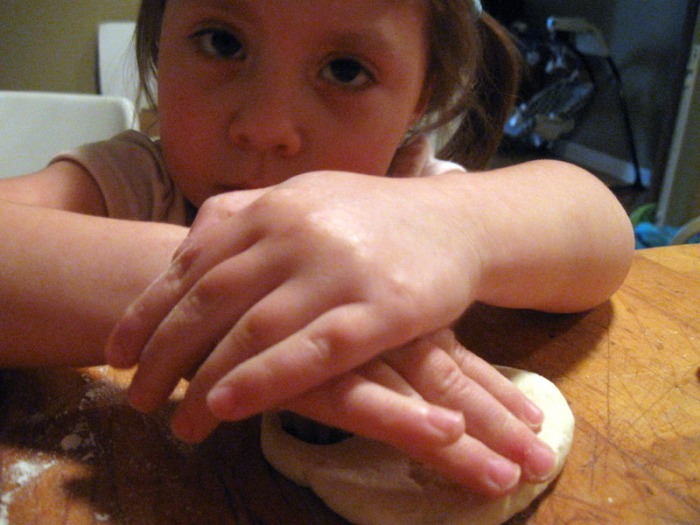
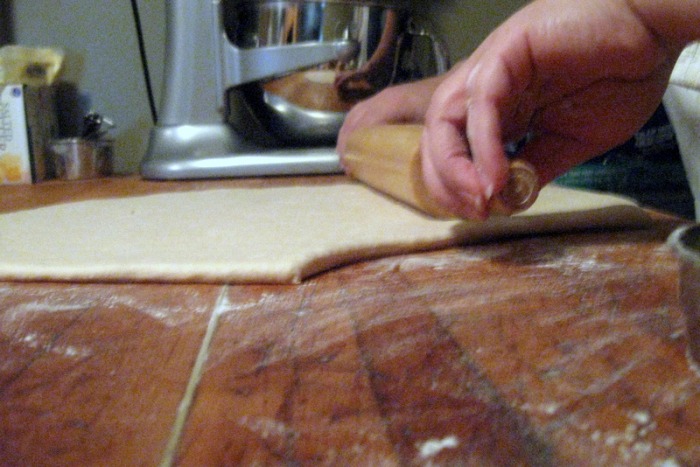
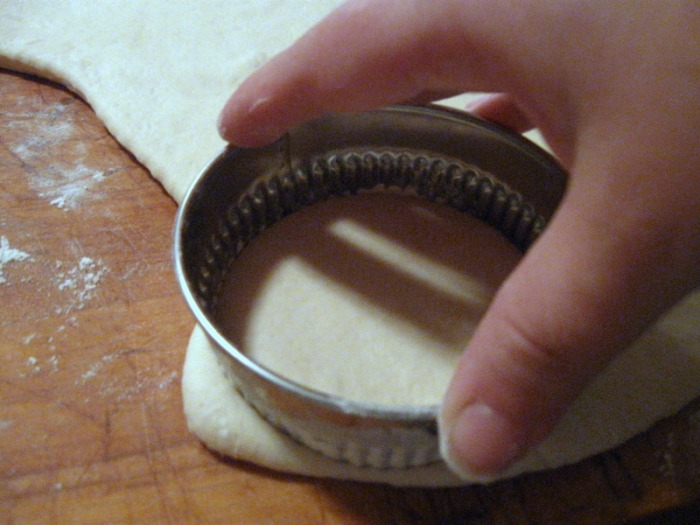
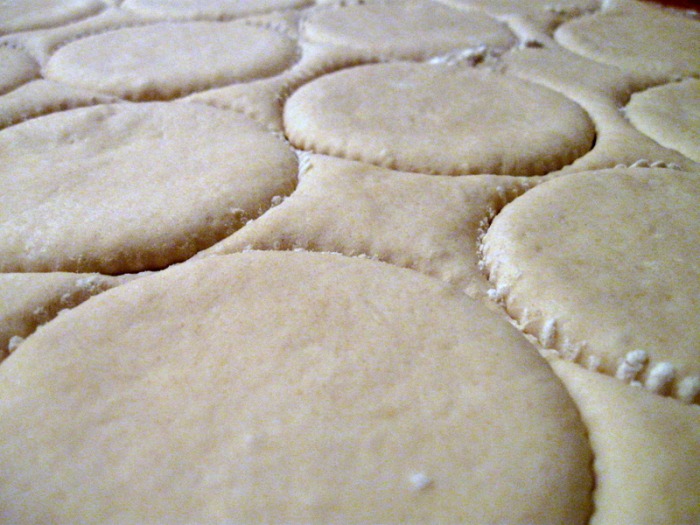
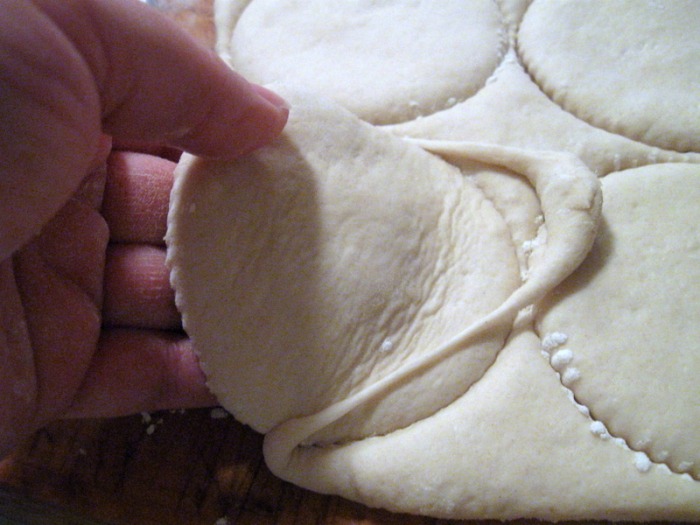
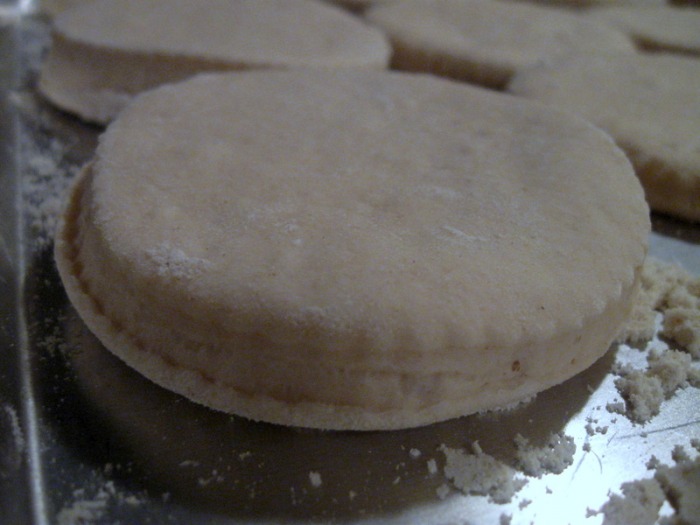
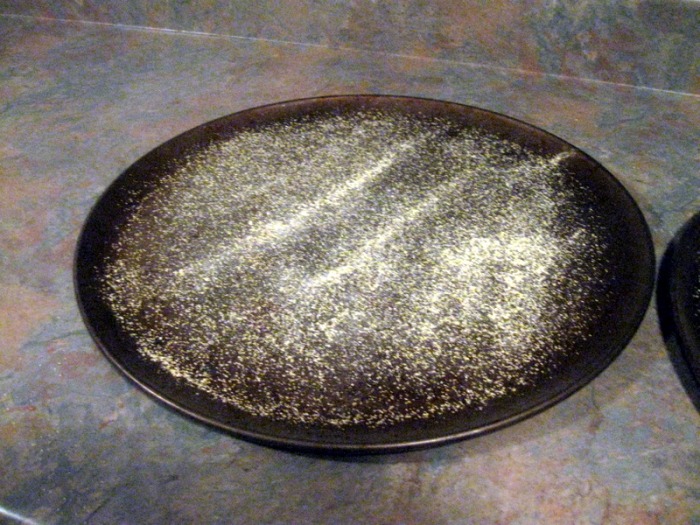
  6. using a rolling pin roll out to a 1/2 inch thick; allow dough to rest for 3 minutes to relax; using a 3" cookie cutter, cut out circles; place the cut out pieces onto some cornmeal; you can re-roll the dough scraps; sprinkle the tops with more cornmeal
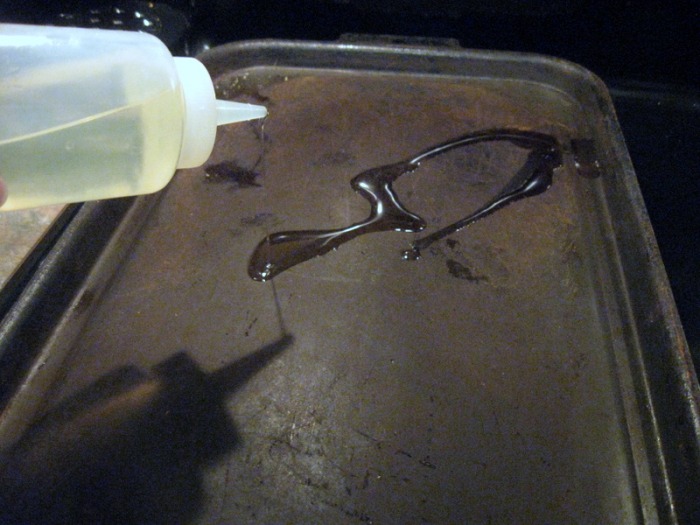
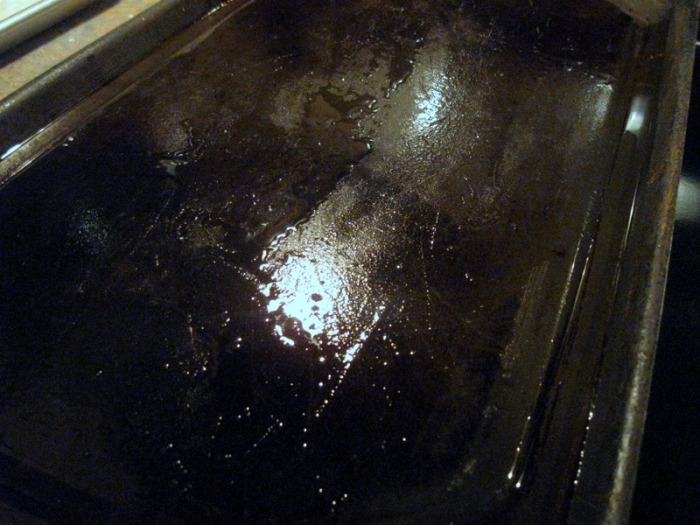
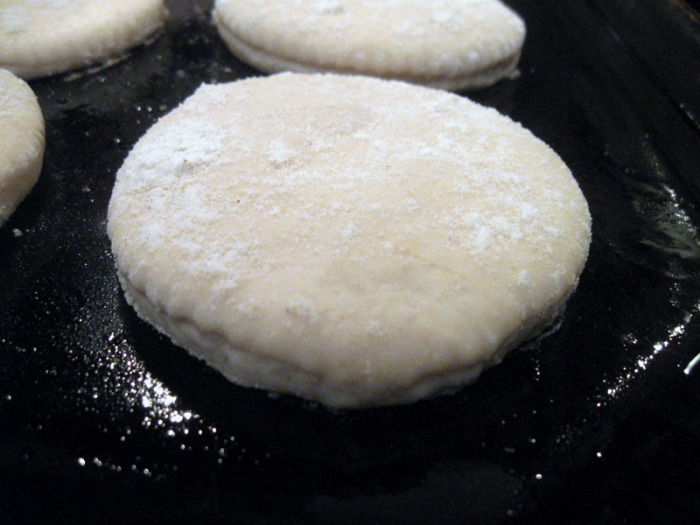
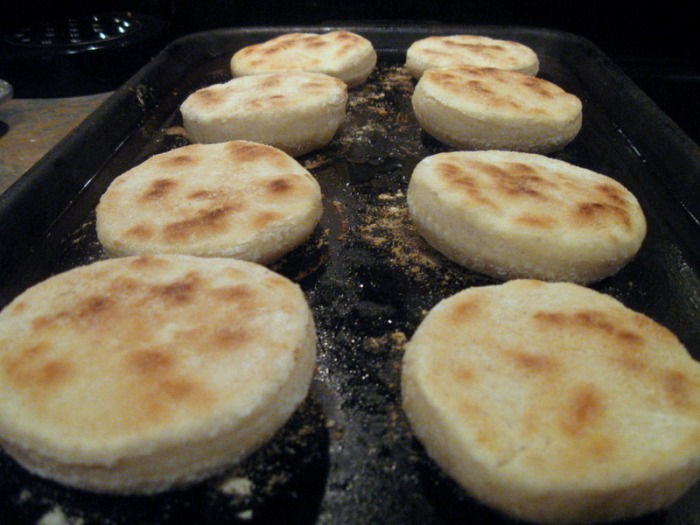
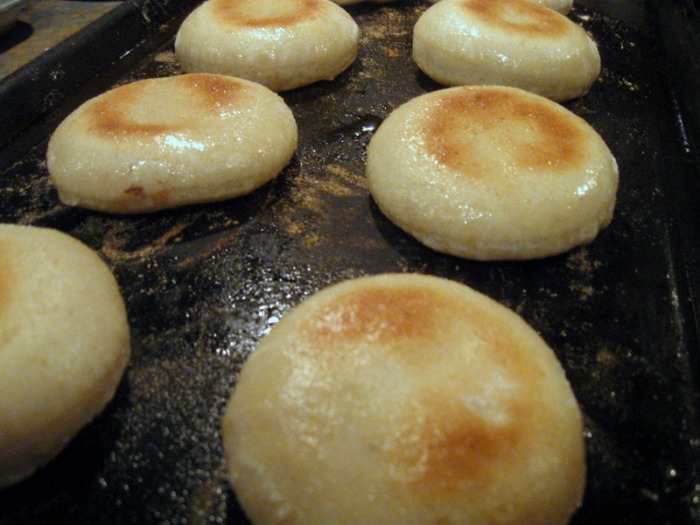
  7. cover with plastic wrap and allow to rest for 45 minutes; about 5 minutes before you are ready to cook the English Muffins turn on your griddle or frying pan to a medium heat; when the griddle is hot lightly oil it; place the muffins on and fry; if you are using a frying pan you may only be able to fry 3-4 at a time; fry on one side for about 4 minutes; then turn over and fry for another 4 minutes; do this once more to a total of 16 minutes
 
Picture
Who doesn't love a nice hot fresh pizza?  I remember when I was a kid and my mom was pregnant with my younger sister, she craved pizza constantly.  I honestly think we ordered from River Pizza at least two times a week, if not three.  It was a small neighborhood place with real Italian food, and their pizza was to die for.  You would think after nine months of non-stop pizza eating we would all hate pizza, but I still think about that place.

I didn't know how good the pizza was until I moved away and ordered what turned out to be the first of many years of bad pizza.  Every pizza I've had since then gets compared to that pizza and none measure up.  Periodically I get the urge to make my own pizza thinking that I would somehow match the taste of their pizza, but they never turn out as good.  It's not difficult to make pizza, but it is time consuming and who wants to spend a good chunk of their day making what they know will be so-so pizza when you could just pick up the phone and order one?

Until now.  I finally found the right combination of ingredients.  Actually, I was motivated by the economy.  Dropping $35 on a couple of pizzas just didn't seem smart.  I'll admit, I've become the queen of the bargain hunt.  I don't think it should matter how much money you have, if you can pay less for something why wouldn't you?  So I got re-motivated to make good homemade pizzas.

We started out making our own pizza using dough that The Chef would bring home from the restaurant.  I can admit that's kind of cheating.  The taste of the crust is so important and I just didn't want to waste a good pizza craving on a boring crust.  Finally fate intervened.  I wanted to make barbecue chicken pizza and The Chef was at work and wouldn't be home until late.  I started researching through my books and on the internet and through my cabinets to see what I ingredients I had available and I came up with this dough recipe.  It's fantastic!  I couldn't believe it.  After all the bad pizza dough I've made over the years, this dough was great!

It was so good, in fact, that when The Chef came home that night and warmed some up for himself he said, "You know, we're considering changing our pizza dough recipe at the restaurant.  This is really good, could you give me the recipe so I can test it out?"

I'm really picky when it comes to pizza sauce.  I'll be honest, I'm not much of a fan, and when you look at the pictures you'll see I don't put much on.  I always order my pizza with easy sauce, which drives the rest of my family crazy, but too much sauce makes me gag.  To me, the sauce was never the highlight of the pizza but I decided to make some that even I would like.  I decided to roast some garlic and add it to the sauce and it was delicious!

So the next time you crave pizza skip the phone and try this out.  It's so good you'll be glad you kept your $35!

PIZZA DOUGH
yield 2 - 16" thin crust pizzas
  • 1/2 oz Active Dry Yeast
  • 2 C Water, warm (110 ° F)
  • 4 C Bread Flour
  • 2 C AP Flour
  • 1/4 C Olive Oil
  • 2 t Sea Salt
  • 1 T + 1 t Sugar (separated)
  1. Dissolve yeast in warm water; whisk together to activate yeast; let stand until frothy (about 10 mins)
  2. In large mixing bowl combine bread flour, olive oil, sea salt and sugar; add yeast mixture; stir well to combine
  3. Using a dough hook, knead dough; as the dough kneads begin adding AP Flour (about 1/2 C at a time) until the dough is no longer liquid and is smooth and stretchy; you may not need all of the AP Flour, and sometimes you may need more than the 2 C called for, you have to use your judgment to know how much to use
  4. Cover bowl and let dough rise until doubled
  5. After rising, punch down dough; divide into boules, cover with plastic and allow to rest on bench
  6. On a floured board punch down boules and shape into pizzas; top with ingredients
  7. Bake at 500 for 16 mins
ROASTED GARLIC PIZZA SAUCE
yield approximately 2 1/2 Cups
  • 16 oz Tomato Sauce
  • 6 oz Tomato Paste
  • 4 oz Water
  • 1 t Italian Herbs
  • 1/4 t Cayenne Pepper
  • 1/2 t Sugar, granulated
  • 1/2 t Onion powder
  • 1/2 t Salt
  • 1/2 t Black Pepper, ground
  • 3 cloves Garlic, roasted
  1. pour tomato sauce, tomato paste and water into saucepan; whisk together
  2. add Italian herbs, cayenne pepper, sugar, salt and pepper; whisk together
  3. squeeze the bulbs of roasted garlic into sauce and whisk together
  4. place over a low flame and just let it warm to allow flavors to marry, for as long as you like
Hints:
All of the flavorings can be increased or reduced according to your tastes.  If you don't have time to heat the sauce it can be used right after mixing, it just won't develop as much flavor.

-The Baker
 
This is your new blog post. Click here and start typing, or drag in elements from the top bar.
Picture
I’m realistic about my baking.  I know it’s full of fat and calories and all that bad stuff you’re not supposed to have.  But, the way I see it is if you went to the trouble of baking something you’ve kind of earned a free pass to eat it.  Sure, you could pop open a can of cinnamon rolls and make your house smell good.  Or you could go out and buy a cinnamon roll and scarf it down.  But, have you really EARNED it?  I’m all about justifying my bad habits. Who doesn’t love a good cinnamon roll?  It’s comfort food at its yeastiest.  So warm and sweet right out of the oven; slightly salty, slightly sweet.  Mmm…  So I went on a quest to make the perfect cinnamon roll.  I didn’t want bread with a cinnamon filling; I wanted a sweet dough that was delicate to eat yet hearty enough to stand up to an ooey, gooey, cinnamon-y filling.  I searched through cookbooks and all over the internet, constantly tinkering, until I came up with this recipe.  During my search I made a lot of cinnamon rolls… some downright awful, some okay, but these were the hands down winner.  I’m not sure how much of this recipe is my own creation and how much I pirated from someone else’s recipe.  If this looks awfully similar to your mom’s recipe let me know, I’d love to give her credit!

Cinnamon rolls can be time consuming, so it’s best to plan ahead when you know you’ll be wanting some for breakfast.  If you wait to start them until the day you want them you won’t be eating them until afternoon, which isn’t necessarily a bad thing.  You can bake them ahead of time and then re-warm them in the morning when you’re ready to eat them.  You can also get them all the way to the point of being in the pan and then pop them in the fridge until the next morning when you’re ready to bake.  Pull them out of the refrigerator while your oven heats up to allow the rolls to come to room temperature and then bake them off as usual.

CINNAMON ROLLS

yield:  approximately 16 large cinnamon rolls, depending how thick you slice them

Sweet Yeast Bread:
  • 2 packages (4 1/2 t) Yeast
  • 1 C Water, warm
  • 2/3 C + 1 t (separated) Sugar
  • 1 C Milk, warm
  • 2/3 C Butter, warm
  • 2 t Salt
  • 2 Eggs
  • 7 C AP Flour
  1. Proof yeast in the warm water with the 1 t of separated sugar
  2. Combine milk, 2/3 C sugar, butter, salt and eggs
  3. Add yeast mixture to milk mixture
  4. Add flour and knead
  5. Let rise in bowl
  6. Punch down, let rest 5 minutes
  7. Roll out to a large rectangle; smear on the cinnamon filling almost to the edges; roll up into a fairly tight log; and using a very sharp serrated knife, slice into rolls about 1” thick
  8. Place on buttered pan approximately 1/2” apart
  9. Let rise on pan
  10. Bake at 350 F for approximately 30 minutes; take care not to over-bake
Hints:  During the last rise and the baking, the rolls will grow so that they’re touching; you want the rolls on the outside of the pan to be golden brown, but the rolls on the inside to be just starting to brown; the inside rolls will continue to bake from the heat of the other rolls; if you bake until the inside rolls are golden brown the outside rolls will be over-baked and dry.

Cinnamon Filling:
  • 8 oz Butter, melted
  • 3 C Dark Brown Sugar
  • 1/4 C Ground Cinnamon
  • 1 C Raisins (optional)
  1. Melt butter
  2. If using raisins you may want to soak them in warm water or warm brandy to soften them and to add a little flavor
  3. Stir in brown sugar, cinnamon and raisins (if using)
  4. Set aside until ready to fill rolls
Icing:
  • 4 oz Butter, melted
  • 1/4 C  Milk, warm
  • 5 C Powdered Sugar, sifted
  1. Melt butter
  2. Warm milk (this will prevent the butter from re-solidifying when you stir the milk and butter together)
  3. Slowly stir everything together
  4. If you want thicker icing add more powdered sugar; if you want thinner icing add more milk
  5. Drizzle onto warm rolls
-The Baker